
Keurig single-serve coffee makers rely on microcontrollers, thermal fuses, and electronic solenoid valves to brew an 8-ounce cup of coffee in under 60 seconds. However, when power surges occur, mineral scale interferes with the internal water reservoir float sensor, or air bubbles become trapped in the pump lines, the machine can freeze up completely. Common symptoms include unresponsive touchscreen panels, brewers shutting off mid-cycle, or persistent errors like ‘Prime’, ‘Water Shortage’, or ‘Descale’. Performing a structured electronic or mechanical reset restores factory function in 95% of cases.
Soft Reset: Power cycle and clear thermal memory (fixes frozen screens and blinking buttons).
Hard Reset: Clears electronic logic boards on smart/touchscreen models (K-Elite, K-Supreme).
Prime Error: Mechanical airlock or scale blockage in water pump supply line.
Diagnostic Matrix: Decoding Common Keurig Error Codes
| Error / Symptom | Underlying Cause | Sensor / Component | Corrective Action |
|---|---|---|---|
| “PRIME” Message on Display | Air bubble trapped in water pump intake tube | Diaphragm water pump cavitation | Purge airlock using straw or syringe water pressure |
| Brewer Shuts Off Immediately After Pressing Brew | Thermal cutoff fuse tripped due to scale buildup | Internal boiler heating tube thermostat | Cool for 45 mins, run intensive chemical descaling |
| “Add Water” Light Stays On with Full Reservoir | Magnetic float sensor stuck at bottom of tank | Magnetic reed switch sensor | Gently tap or scrub magnetic float inside reservoir |
| Brews Only 2 to 4 Ounces Instead of 8 or 10 | Exit needle clogged or calcified flow meter wheel | Impeller optical flow sensor | Unclog needle with paperclip, run vinegar flush |
3 Proven Reset Procedures for Every Keurig Model
Procedure 1: The 30-Minute Complete Thermal & Electronic Power Reset
This is the standard reset for all Keurig brewers, including the K-Classic, K-Mini, K-Slim, and K-Cafe:
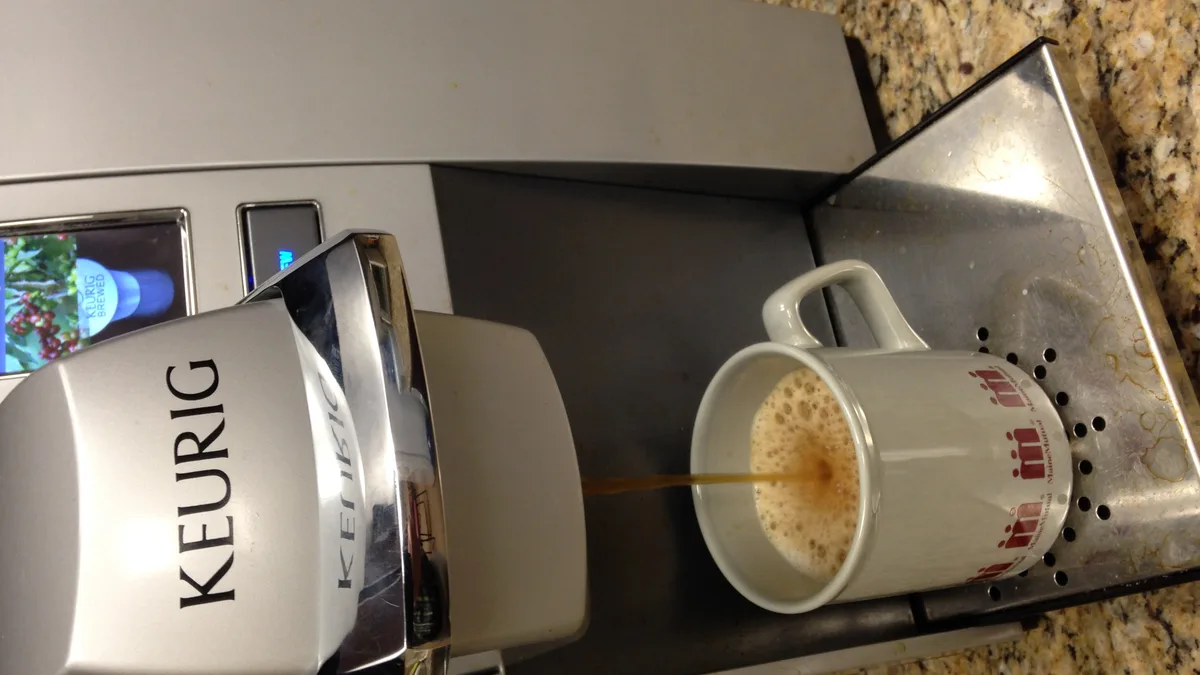
- Turn the machine off and unplug the power cord from the wall outlet.
- Remove the water reservoir and empty all water. Remove the pod holder assembly and wash under running water.
- Allow the brewer to sit unplugged for at least 30 to 45 minutes. This allows the internal high-voltage capacitors on the logic board to drain completely and resets the microprocessor’s thermal memory.
- Plug the machine back directly into a grounded wall outlet (avoid power strips or surge protectors).
- Reinstall the water reservoir and run three 8-ounce plain hot water cycles without a K-Cup in place.
Procedure 2: Resolving the Stubborn ‘PRIME’ Error (Breaking the Airlock)
A “PRIME” message means the water pump is spinning in empty air (cavitation). Because air is compressible, the pump cannot draw water from the reservoir.
- Remove the water tank. Locate the small circular water intake valve at the bottom of the reservoir base.
- Fill a turkey baster or clean plastic syringe with warm water. Press the tip tightly against the water inlet port and forcefully inject water into the machine’s intake tube.
- Alternatively, place a standard drinking straw over the intake port, fill the reservoir, and blow firmly into the straw to push water directly into the pump chamber.
- Reinstall the tank; the pump will catch prime immediately and begin pumping normally.
Procedure 3: K-Supreme and K-Elite Touchscreen Menu Reset
For modern digital models:
- Power on the brewer. Tap the ‘Settings’ gear icon on the touchscreen.
- Scroll down to the ‘Factory Reset’ menu option. Press and hold the brew button for 5 seconds until the screen flashes.
- The machine will reboot, wipe saved temperature and cup size preferences, and restart in initial setup mode.
“Over 70% of ‘Prime’ and shutoff errors reported on Keurig brewers occur after running out of water during a brew cycle. When the pump draws in air, the heating chamber overheats in seconds, triggering protective safety lockouts.” — Keurig Authorized Service Specialist
Frequently Asked Questions (FAQ)
Why does my ‘Descale’ light remain on after descaling?
The descale notification requires a complete, uninterrupted water rinse cycle (typically 3 to 4 full water tanks) to automatically turn off. If you power off the machine mid-rinse, the sensor does not record the reset.
Can I reset a Keurig K-Mini that won’t turn on?
The K-Mini features an auto-off timer that shuts the unit off after 90 seconds. To reset it, unplug the machine, press and hold the brew button for 10 seconds while unplugged, plug it back in, and immediately press the power button.
Is it safe to use white vinegar for Keurig resets?
While Keurig officially recommends their proprietary descaling solution, a 1:1 mixture of distilled white vinegar and water is completely safe for removing mineral scale and resetting flow sensors on all Keurig brewers.
Advanced Keurig Model-Specific Reset & Troubleshooting Pathways
While the standard 30-minute power reset resolves general software hangs, different Keurig generations feature distinct internal architectures that require targeted troubleshooting:
1. Keurig 2.0 Optical Sensor Glitches (K200, K300, K400, K500 Series)
Keurig 2.0 machines feature an internal optical camera sensor mounted beside the upper piercing needle. This sensor scans the outer foil ring of the K-Cup for proprietary fluorescent reactive ink. If coffee splatters or calcium crust coats this tiny optical lens, the machine displays an error stating ‘Oops! This pack wasn’t designed for this brewer’ even when using genuine Keurig K-Cups.
To fix this optical fault: Unplug the machine. Open the pod chamber and look directly to the left of the central puncture needle. You will see a small rectangular glass or plastic lens. Moisten a cotton swab with 70% isopropyl alcohol and gently clean the lens face. Dry with a clean swab and run an empty rinse cycle.
2. K-Supreme & K-Supreme Plus MultiStream Descale Loop Fix
The K-Supreme series utilizes an internal thermal sensor array that measures heat dissipation during the descale cycle. If the machine does not detect a continuous 3-tank water flush without interruption, it remains stuck in an infinite ‘Descale’ notification loop. To force the logic board out of this loop: Power off the machine, hold down the 8oz and 10oz buttons simultaneously for 5 seconds. The descale icon will flash and turn off completely.
3. K-Mini & K-Mini Plus Water Detection Failure
The K-Mini uses a single-cup reservoir with an internal capacitive sensor plate rather than a floating magnet. If distilled or ultra-pure reverse osmosis (RO) water is used, the water lacks the mineral ions required for the capacitive sensor to detect water presence, causing the brewer to refuse to pump. Adding a pinch of mineralized water or switching to filtered tap water immediately re-engages the pump circuit.
Preventative Maintenance Protocol for 5-Year Keurig Longevity
- Weekly Rinse Cycle: Run a single 8oz cycle of pure water without a pod every Sunday evening to flush accumulated coffee oils from the needle exit chamber.
- Monthly Needle Inspection: Remove the K-Cup pod holder assembly and rinse it thoroughly under warm tap water, using a paperclip to verify the exit nozzle is clear.
- Quarterly Descaling: Descale every 90 days using citric acid or official Keurig solution. Avoid vinegar if your brewer has silicone MultiStream tubing, as prolonged acetic acid contact can degrade thin silicone walls.